Aktiv Learning

Home > Guides > LMS > Blackboard
Blackboard - REST API Integration
(for Aktiv Team)
The following steps must be completed to make sure multiple assignments can sync.
- You must have already have the following setup:
-
Logon to Blackboard as an Administrator.
-
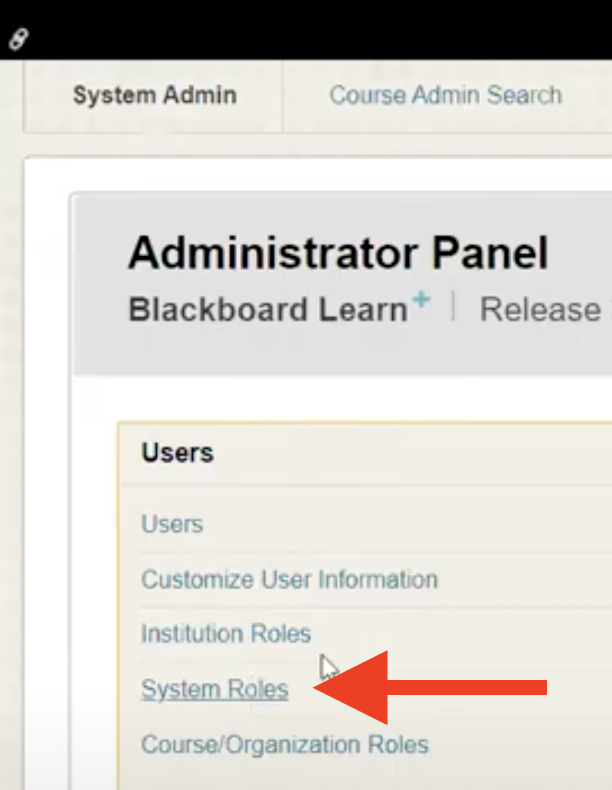
Navigate to
System Admin>System Roles(under Users). -
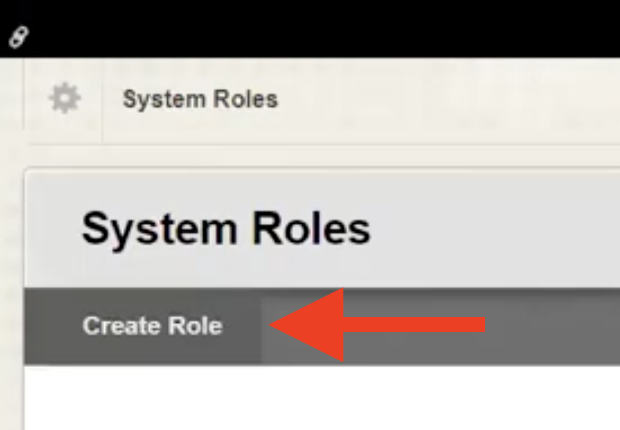
Click the
Create Rolebutton. - In the
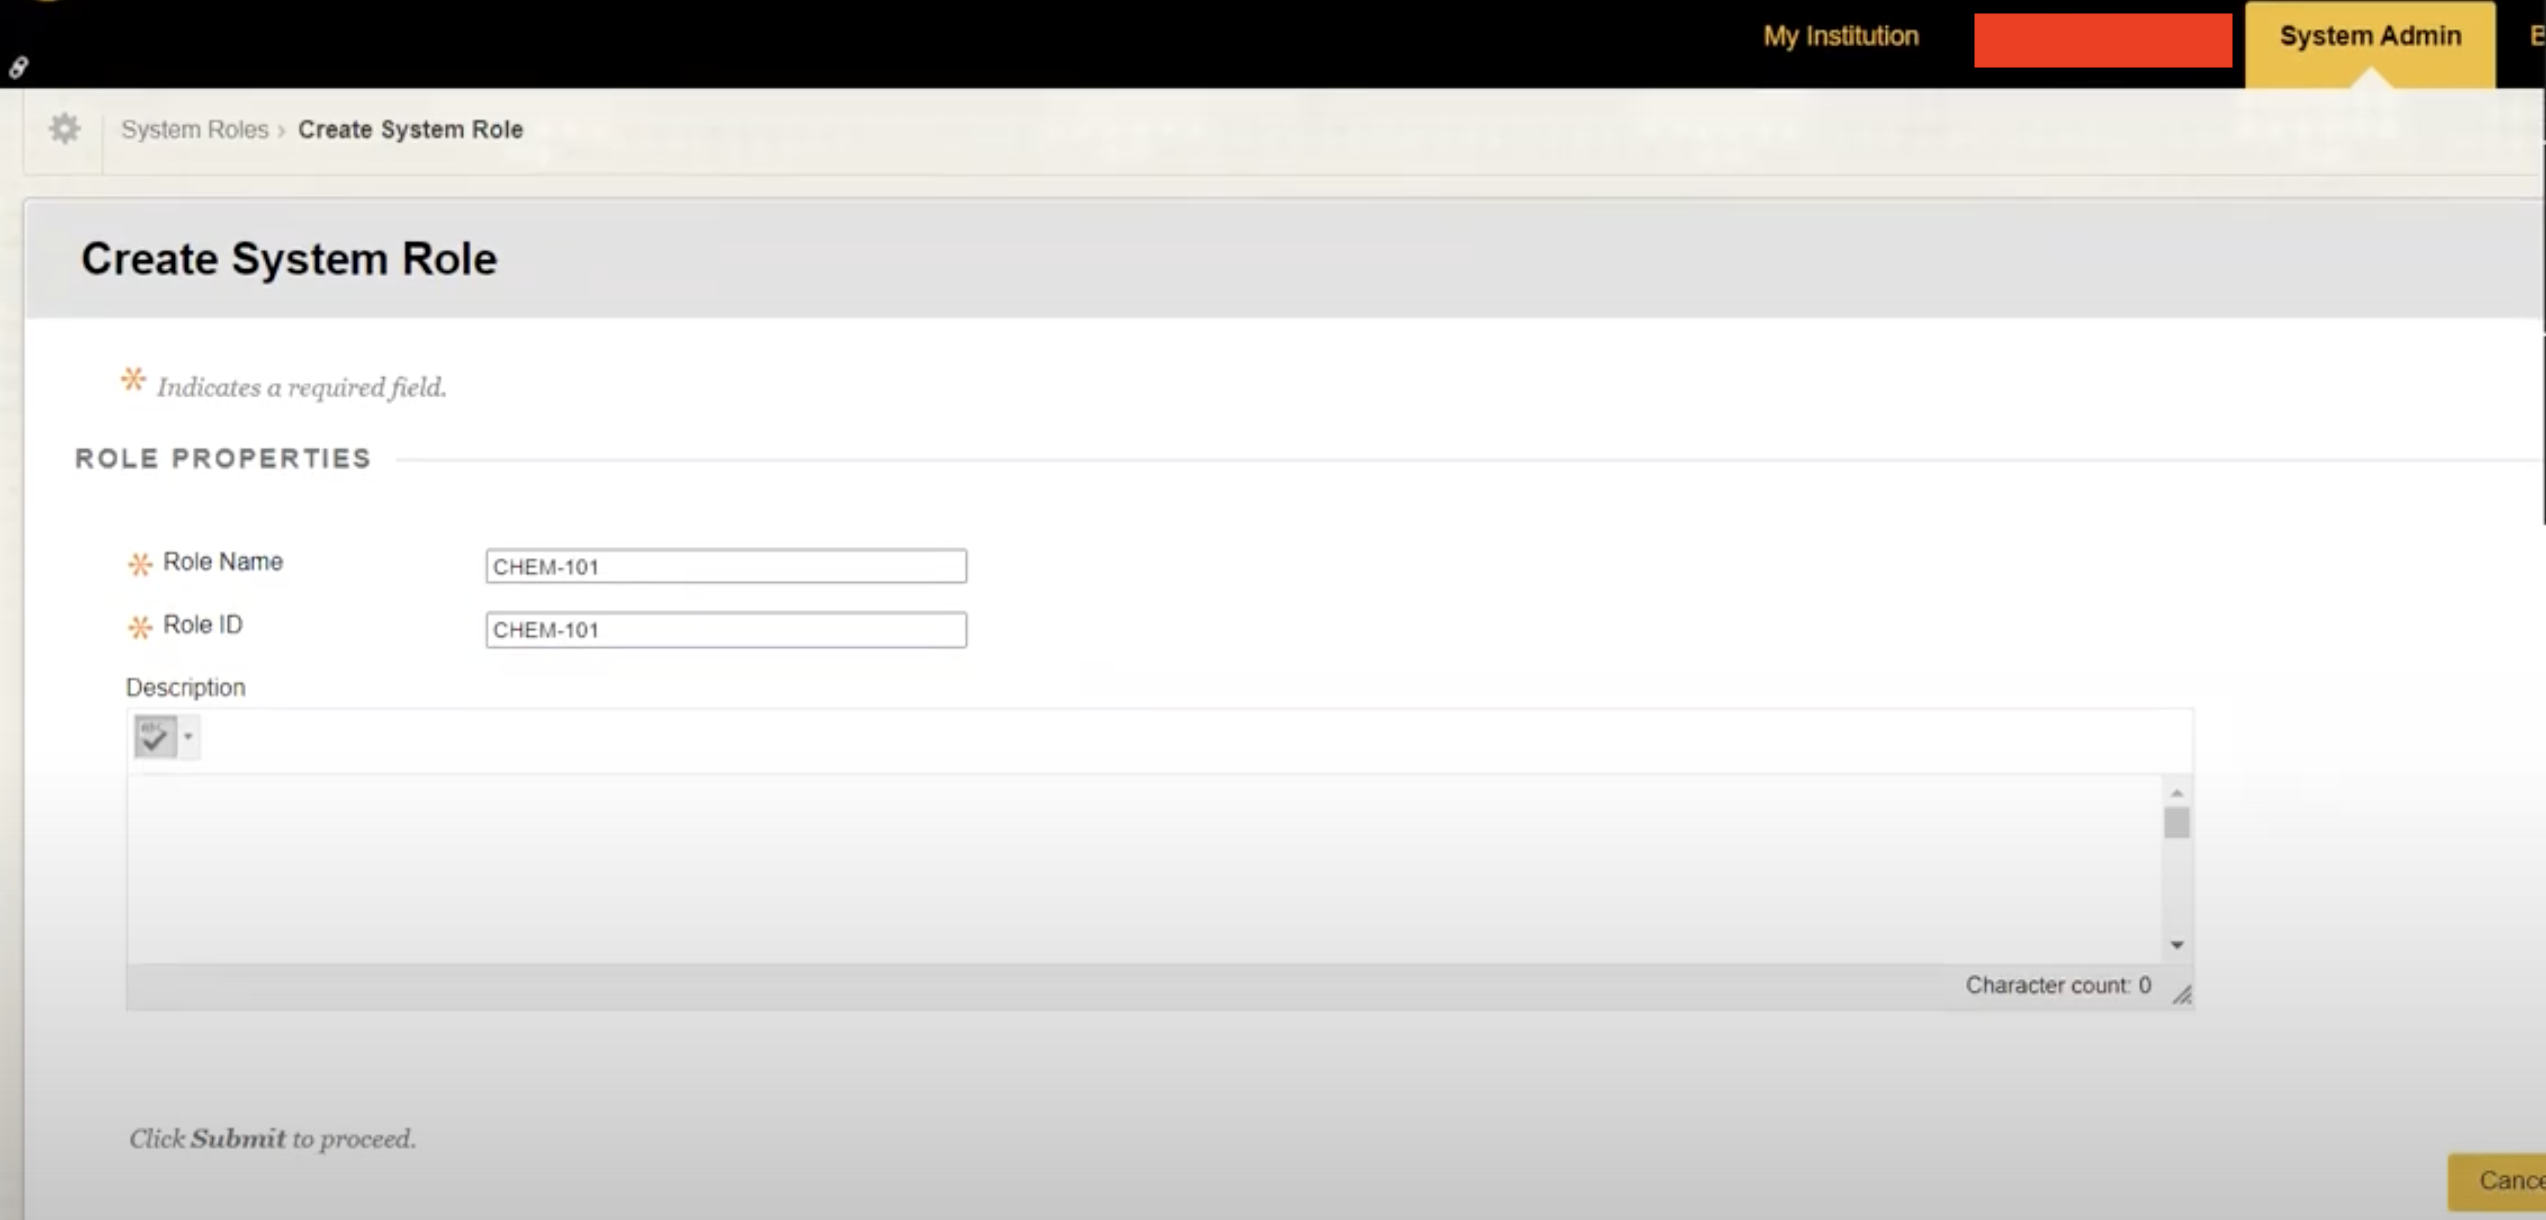
Create RoleScreen:- Set
Role Nameto be “Aktiv” - Set
Role IDto be “Aktiv” - Leave Description empty (or provide something for your reference).
- Hit the “Submit” button.
- Set
- In the next screen
Manage Privileges, search and permit the following privileges:Course/Organization Control Panel (Grade Center) > All GradingCourse/Organization Control Panel (Grade Center) > Full ControlCourse/Organization (Content Areas) > Create MaterialsCourse/Organization (Content Areas) > Edit Materials- Make sure you actually permit these by hitting the “Privileges” button and then the “Permit Privileges” button.
- Once you’ve permitted all the above, click “OK” in the bottom right to save.
-
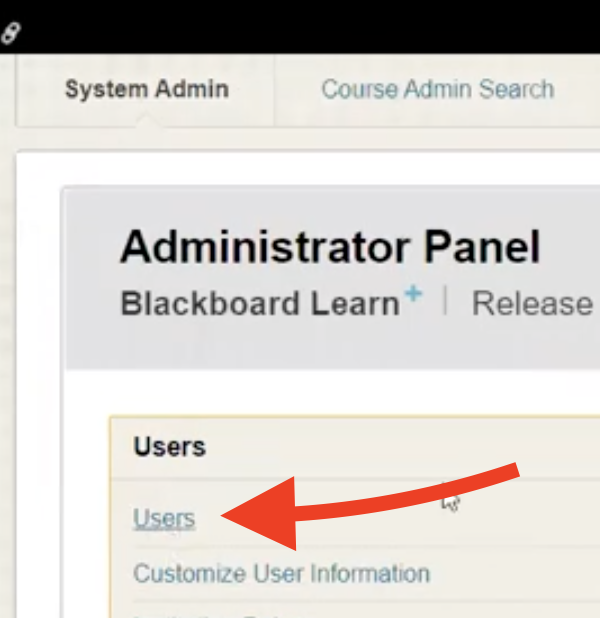
Navigate to
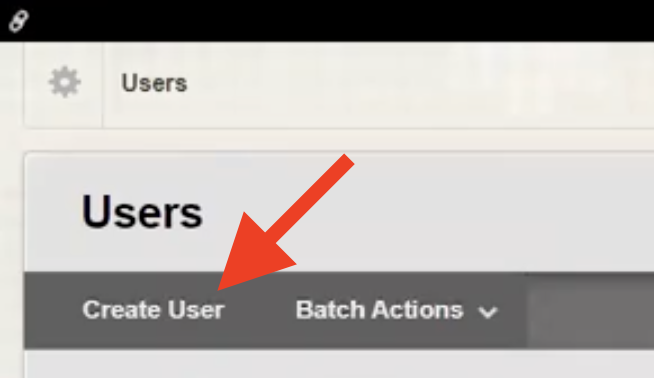
System Admin>Users(under Users) -
Click the
Create Userbutton. - In the
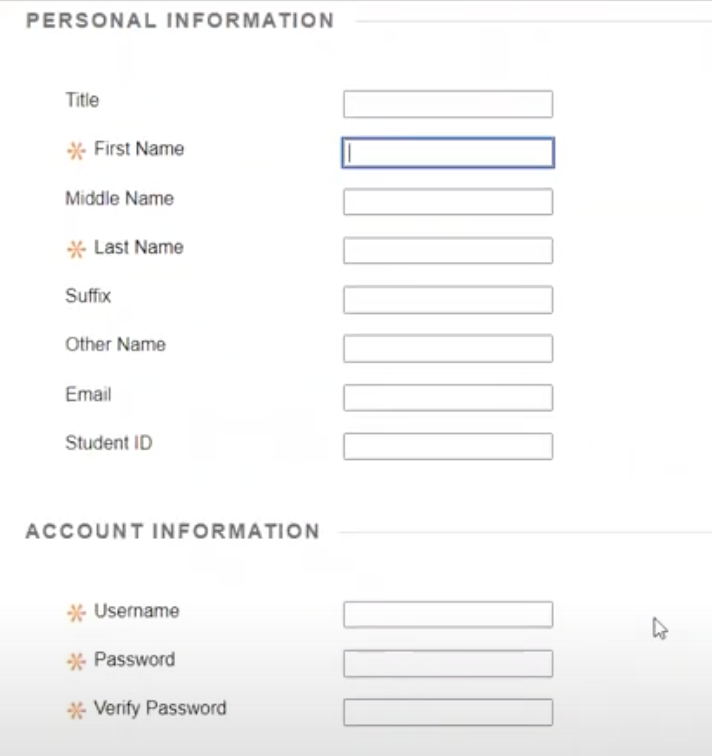
Create Userscreen:- Set
First Nameto be “Aktiv” - Set
Last Nameto be “Aktiv” - Set
Emailto be “support@aktiv.com” - Set
Usernameto be “Aktiv” - Set
Passwordto be anything for your reference (as we don’t need this to login). - Set
Verify Passwordto be the same as above. - Then scroll down to
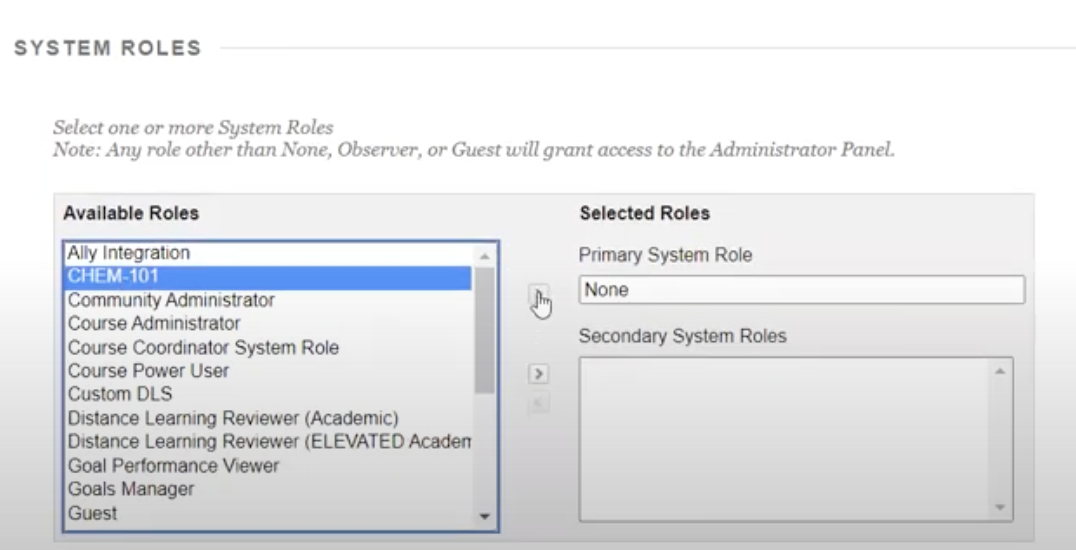
System Rolesand add the system role we created in the previous step called “Aktiv”. - Leave everything blank.
- Then hit the
Submitbutton at the bottom right to save.
- Set
-
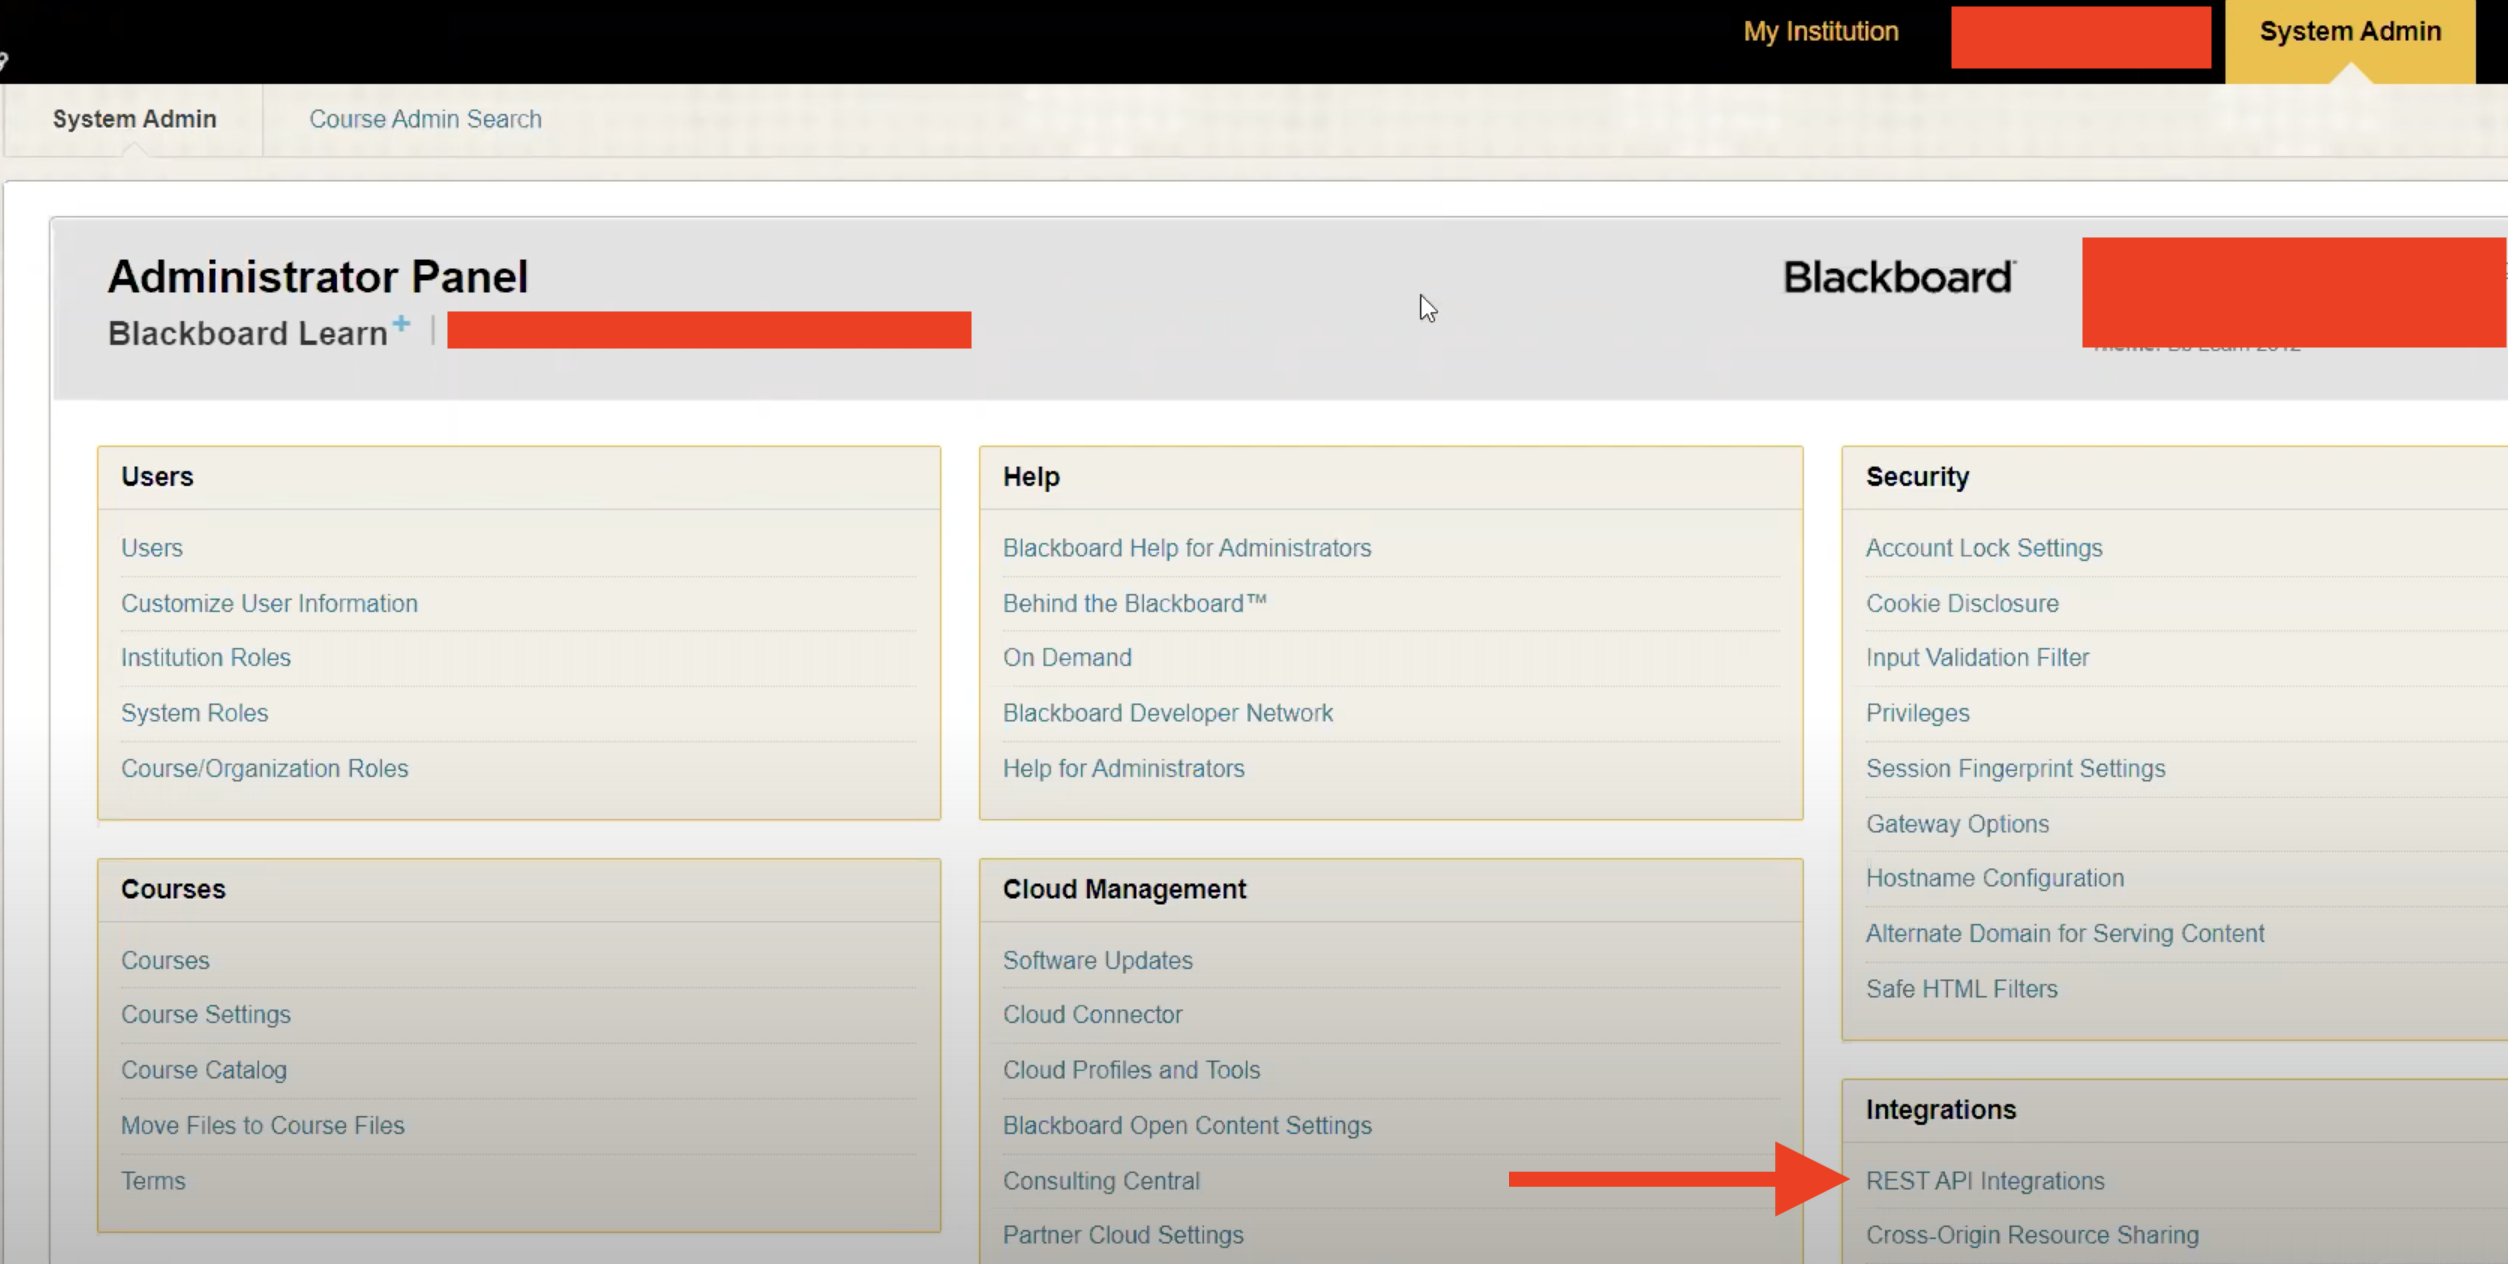
Navigate to
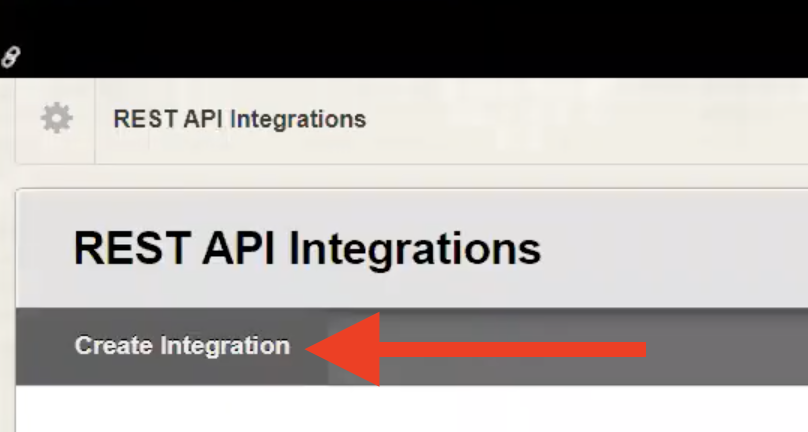
System Admin>REST API Integrations(under Integrations). -
Click the
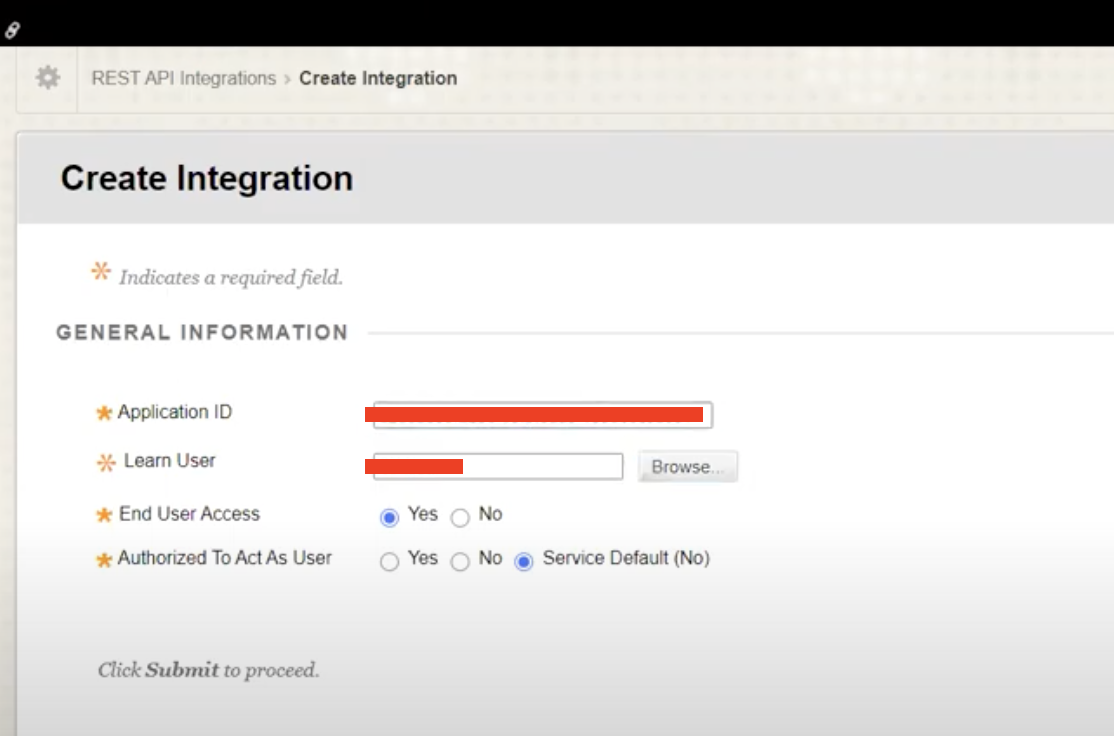
Create Integrationbutton. - In the
Create IntegrationScreen:- Set the
Application IDto be the Application ID (you got this from Willo Labs when doing Willo Labs REST API Integration). - Set the
Learn Userto be the “Aktiv” user we created above. - Set the
End User Accessto be “Yes”. - Set the
Authorized To Act As Userto be “Service Default (No)”. - Hit the “Submit” button at the bottom right to save.
- Set the
- In the
REST API Integrationsscreen, make sure the newly created integration is set as “Available”.
